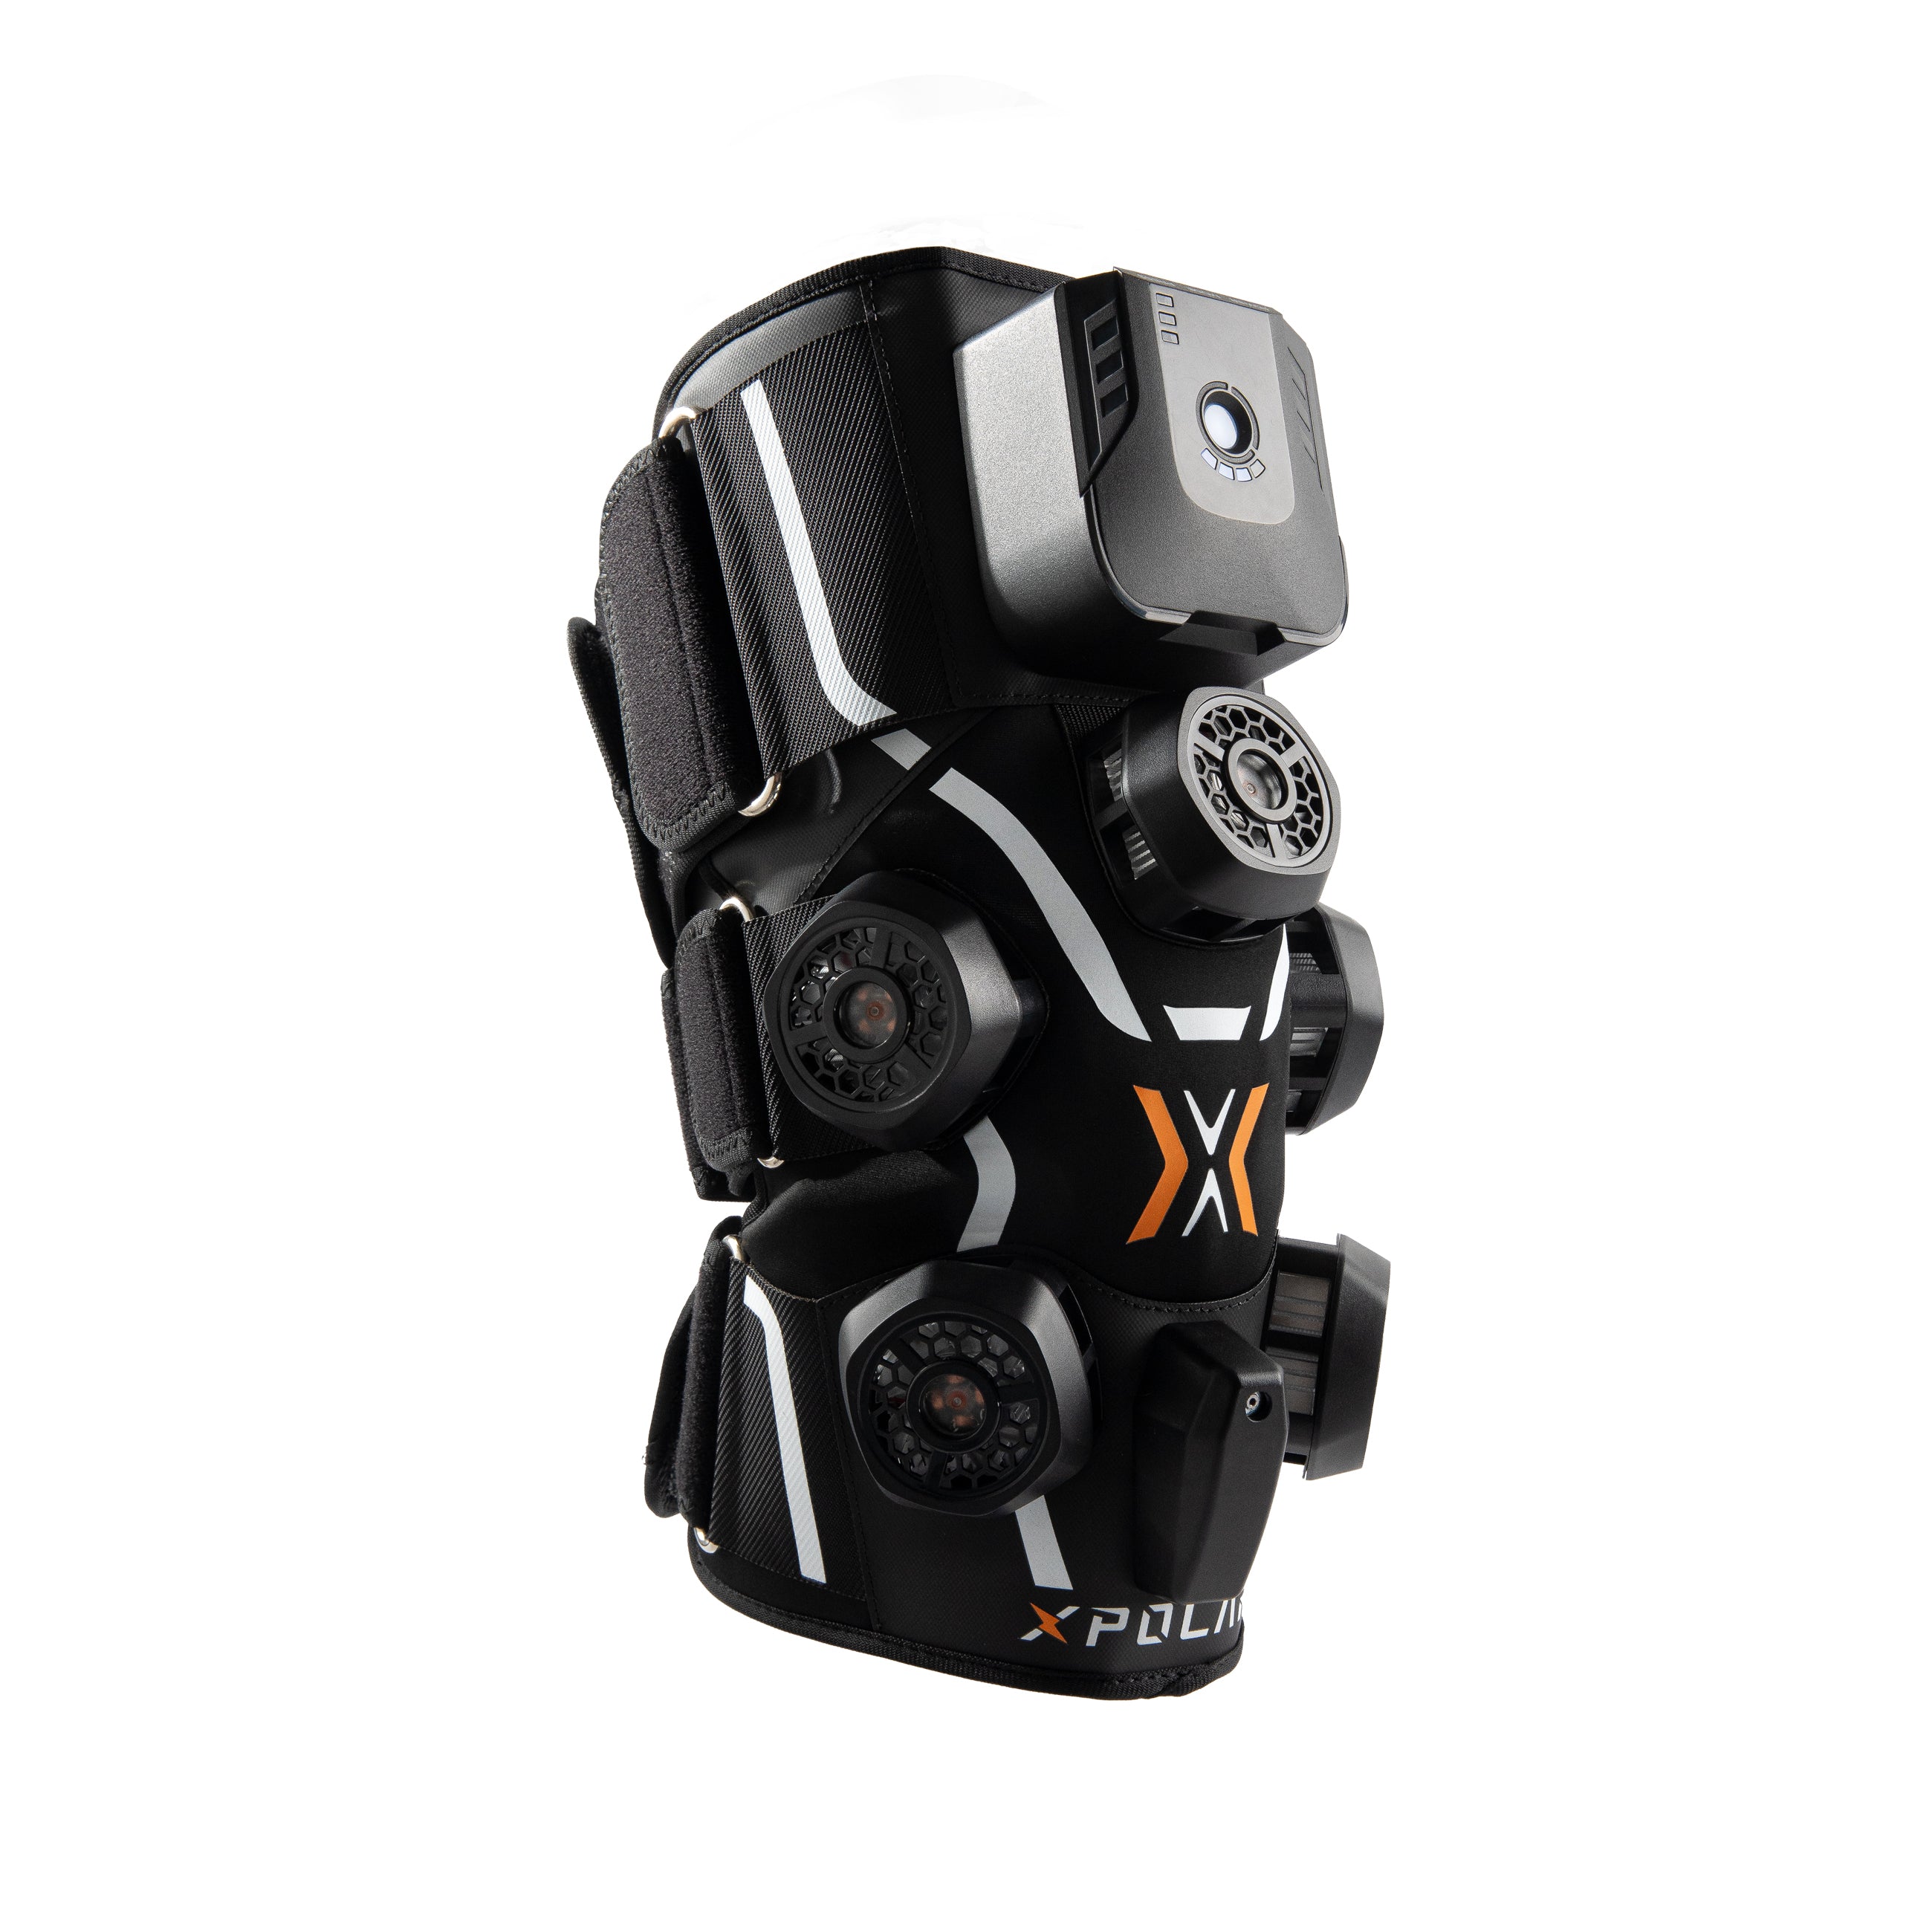
X2 User Manual
Preventing Sports Injuries. Alleviating Muscle Soreness. Extending Athletic Careers
Alternative Placement Options
*Improper positioning (too low) will affect the temperature and pressure experience.
Please follow the instructions for proper wear.
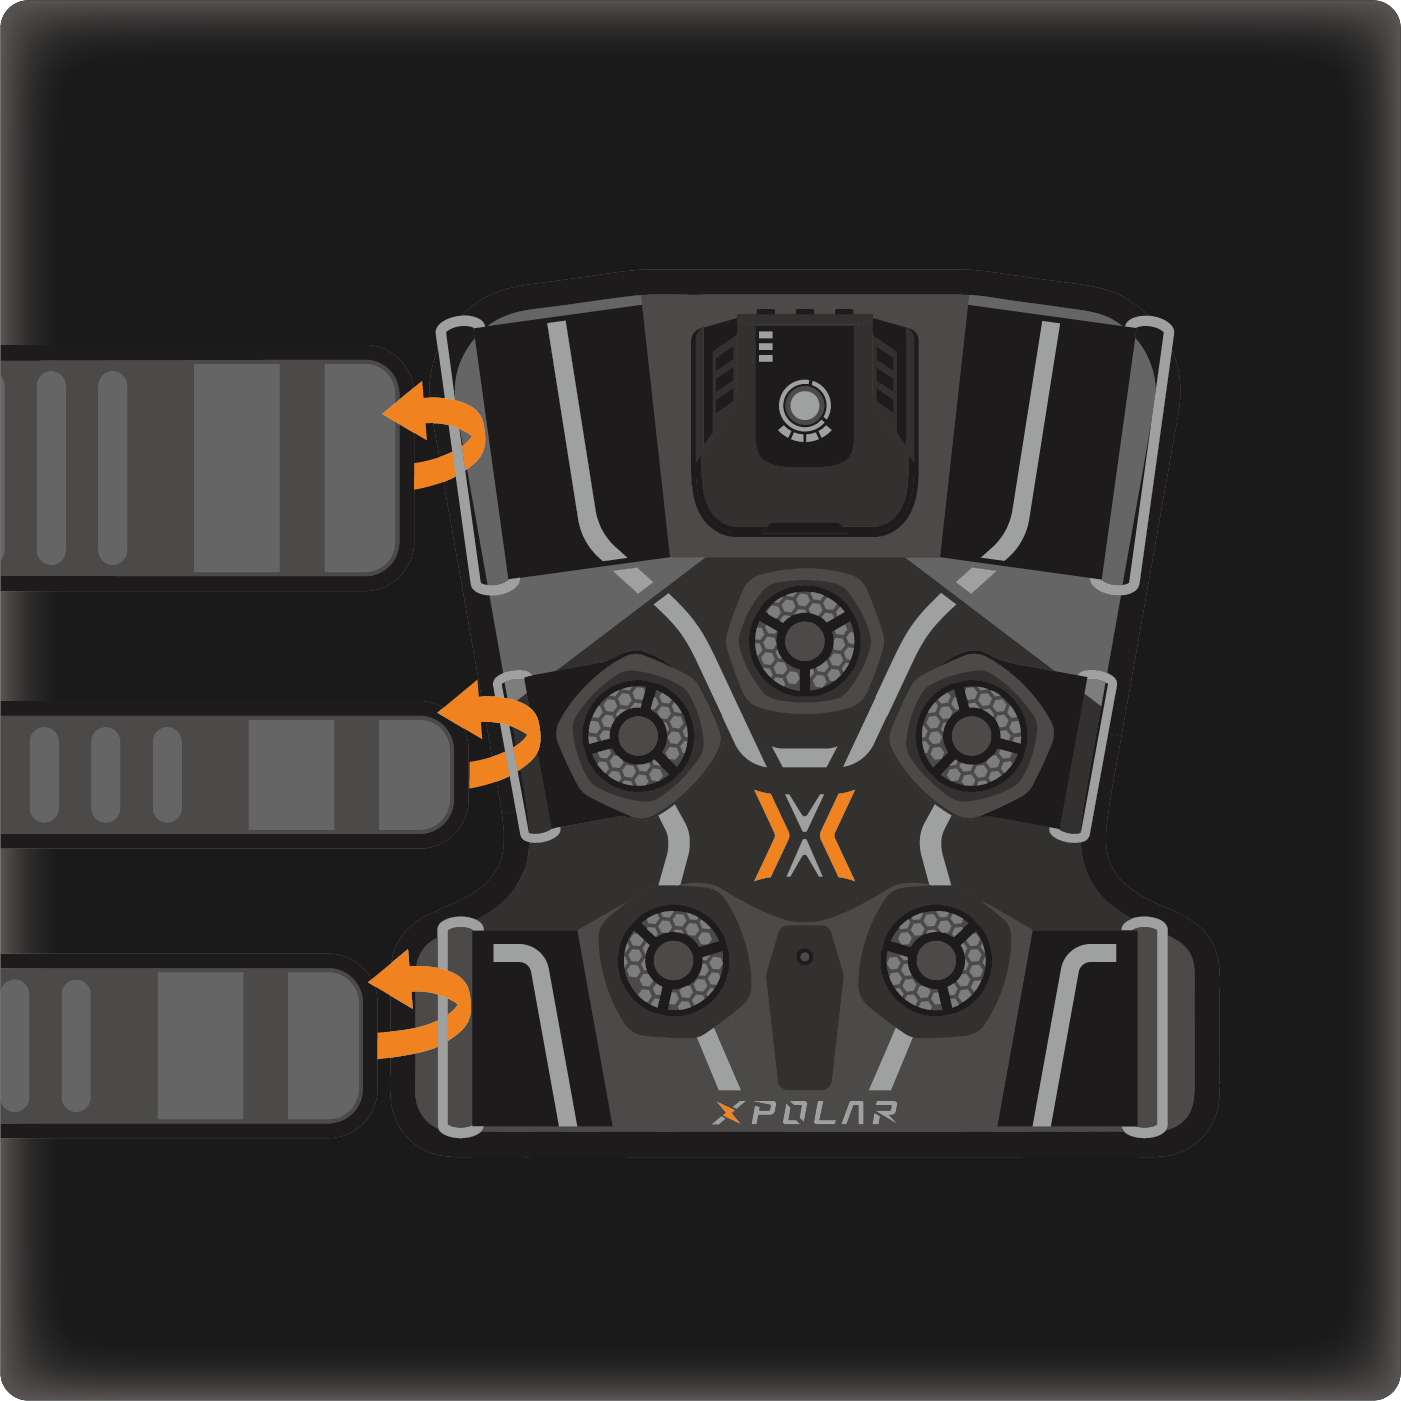
① Attach the three straps to the corresponding metal rings.
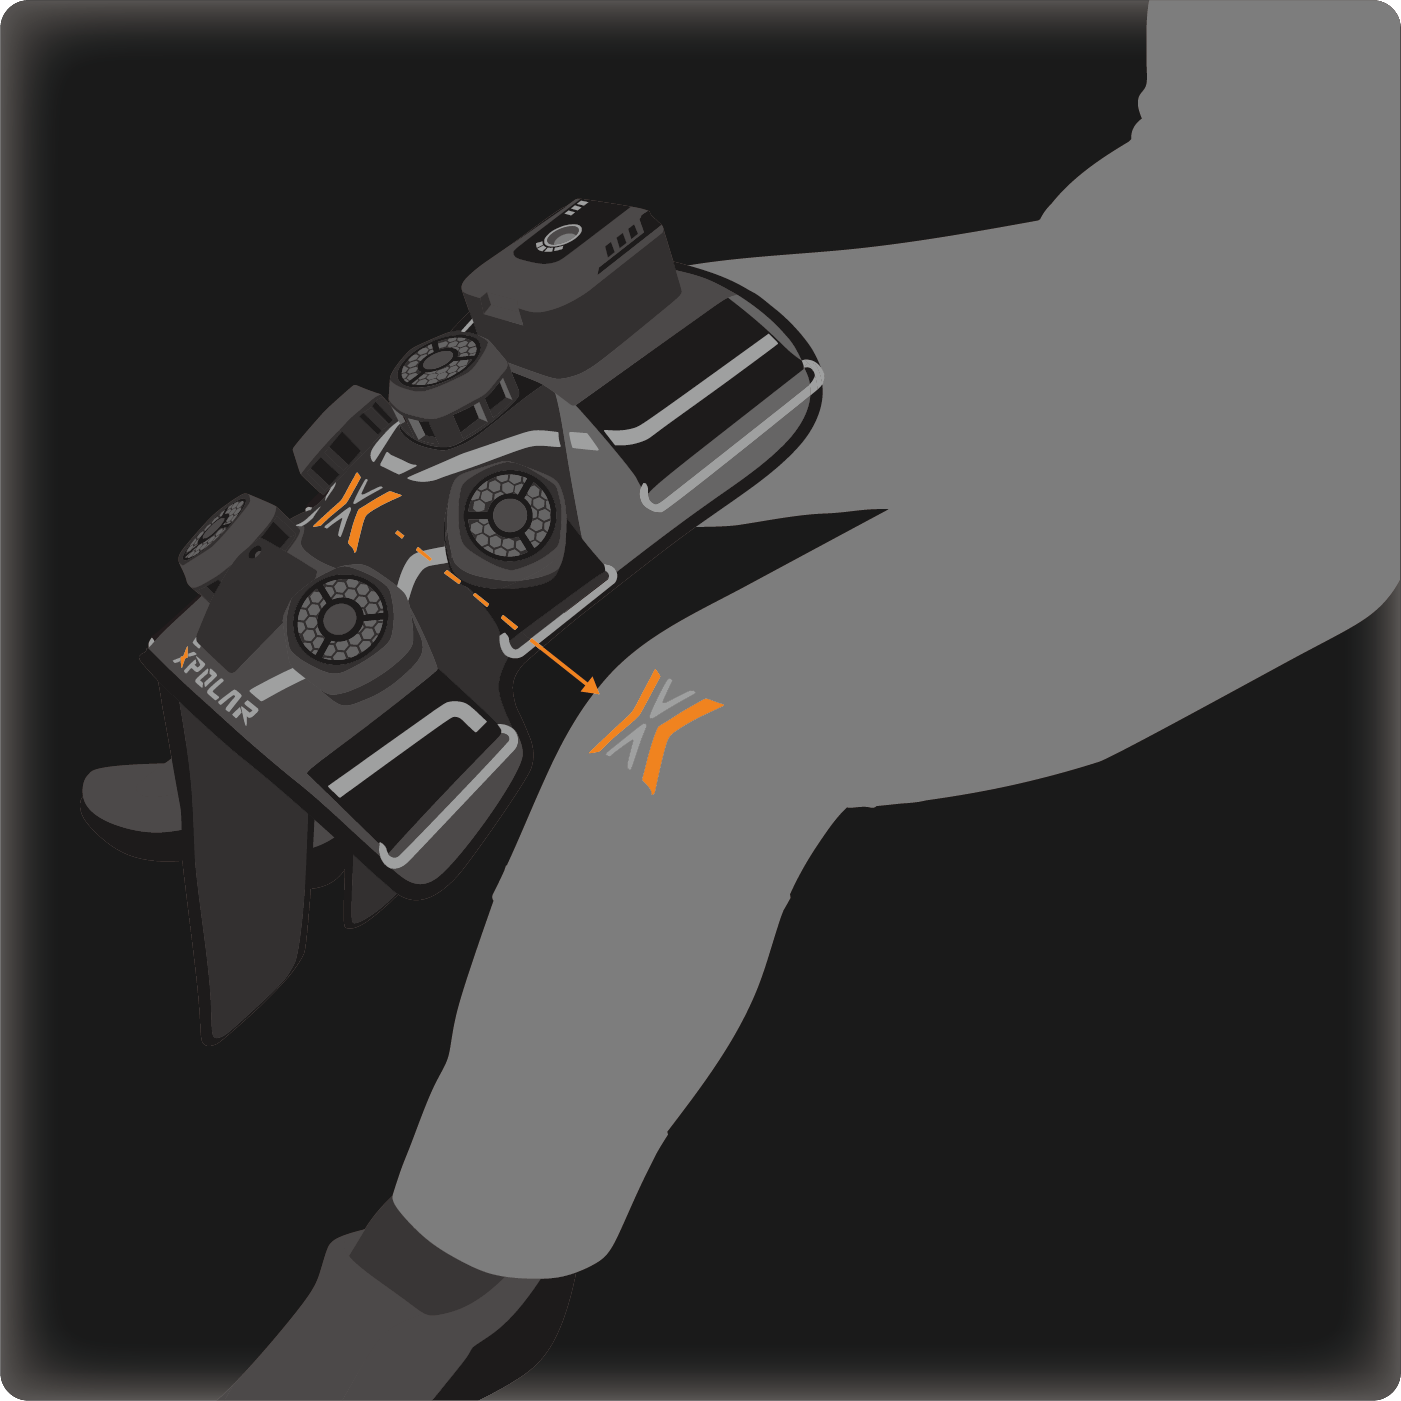
② Align your kneecap with the X mark.
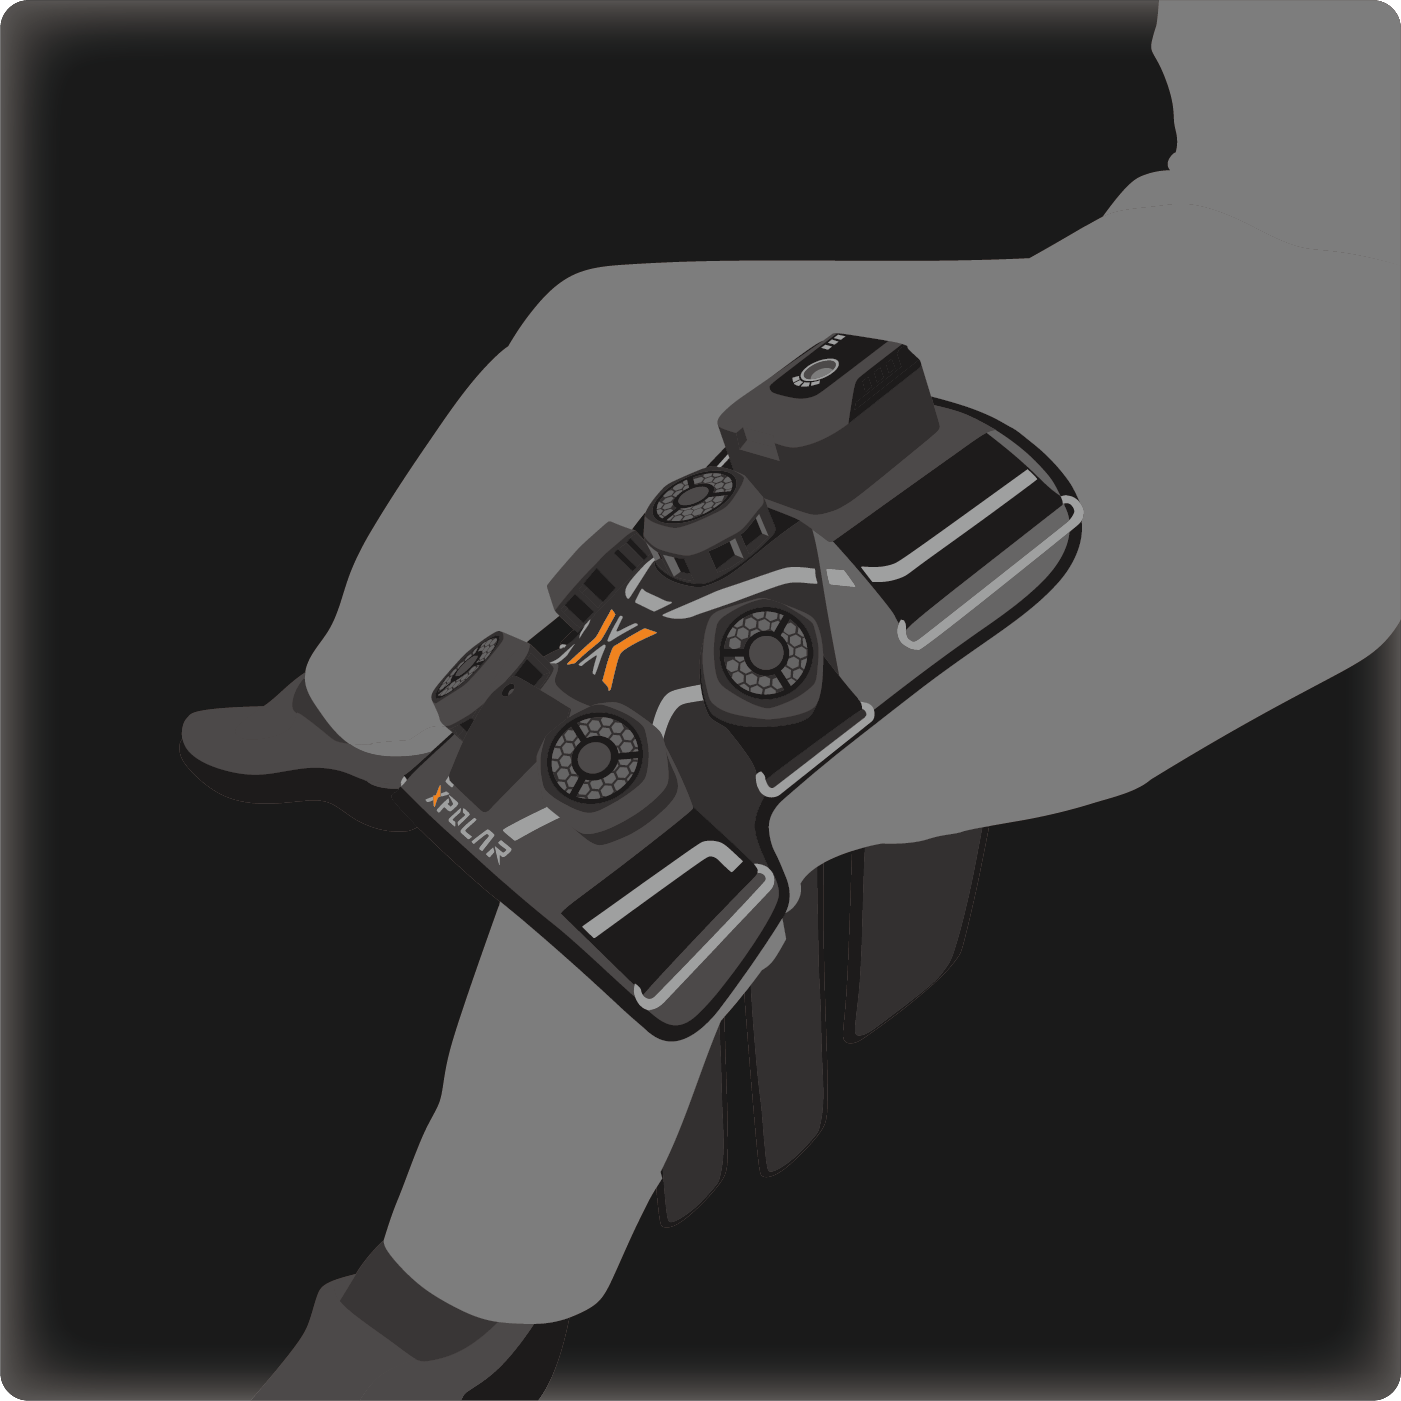
③ Straighten your leg for the best results.
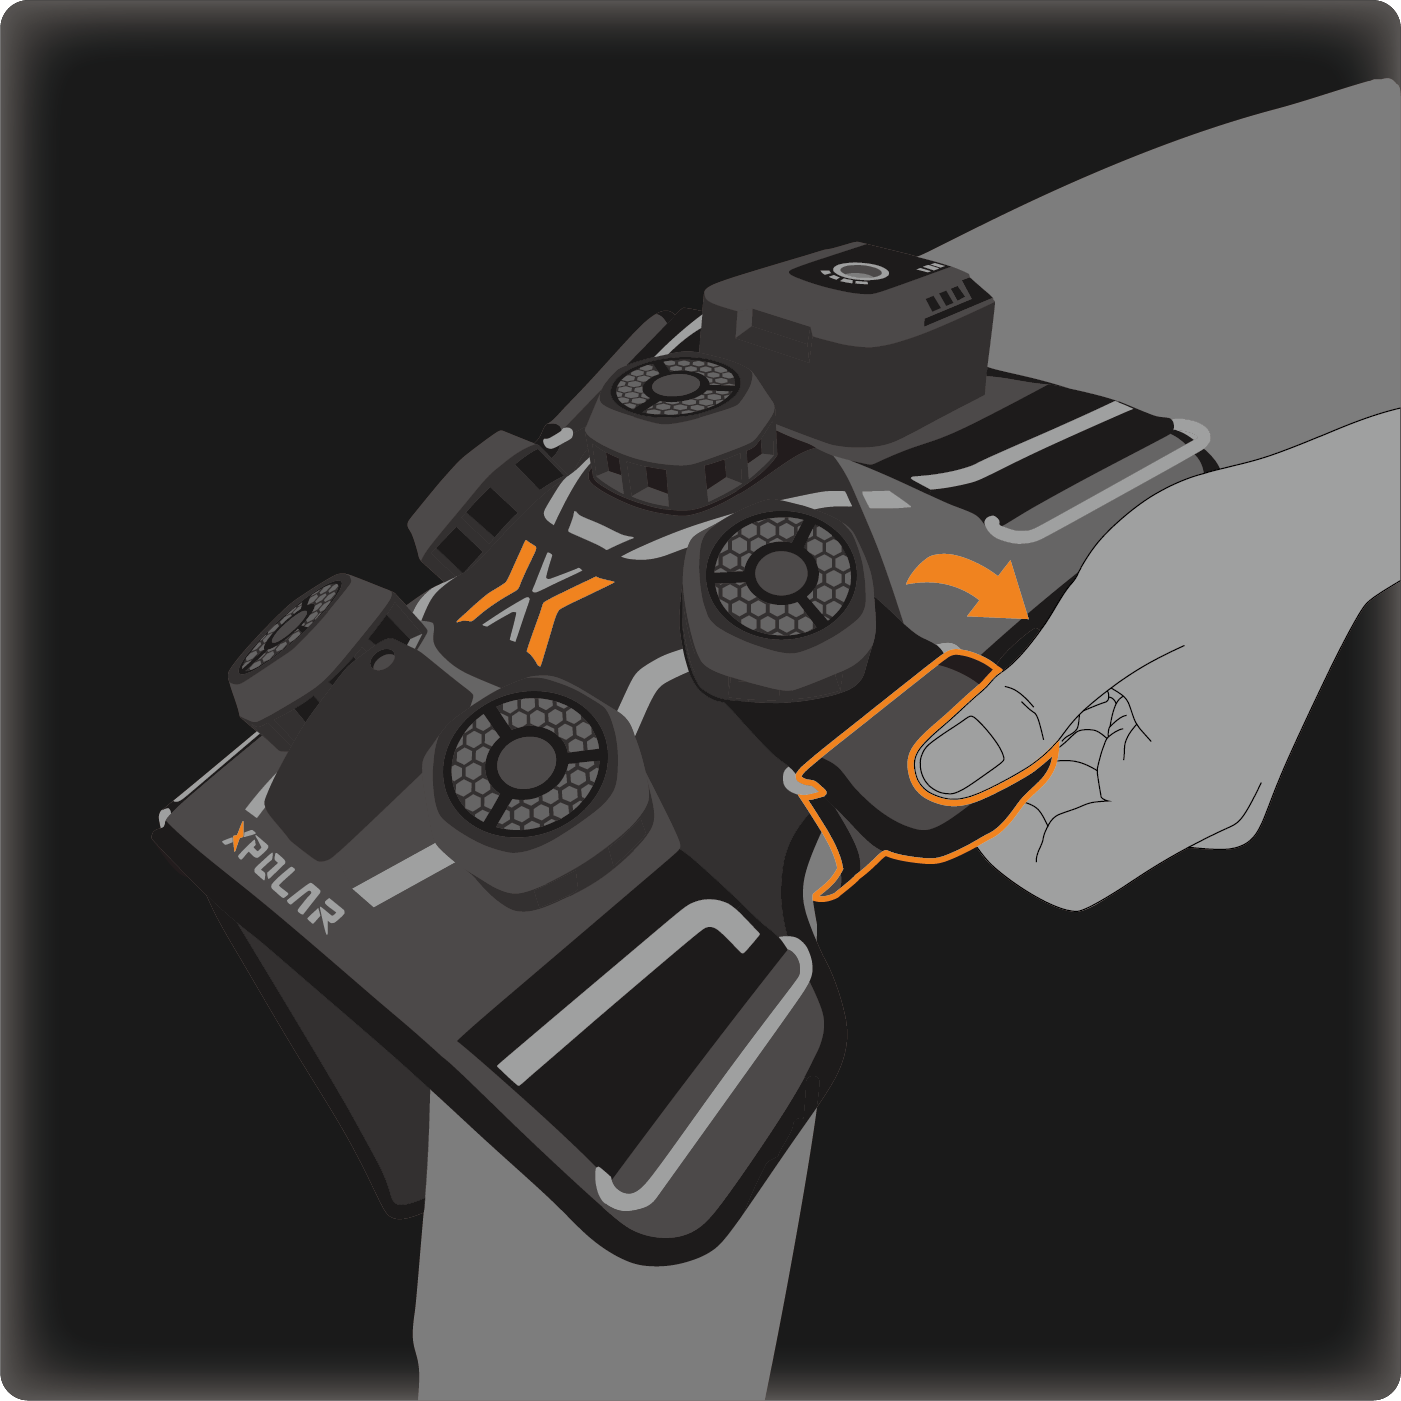
④ Tighten the middle strap first to prevent slipping.
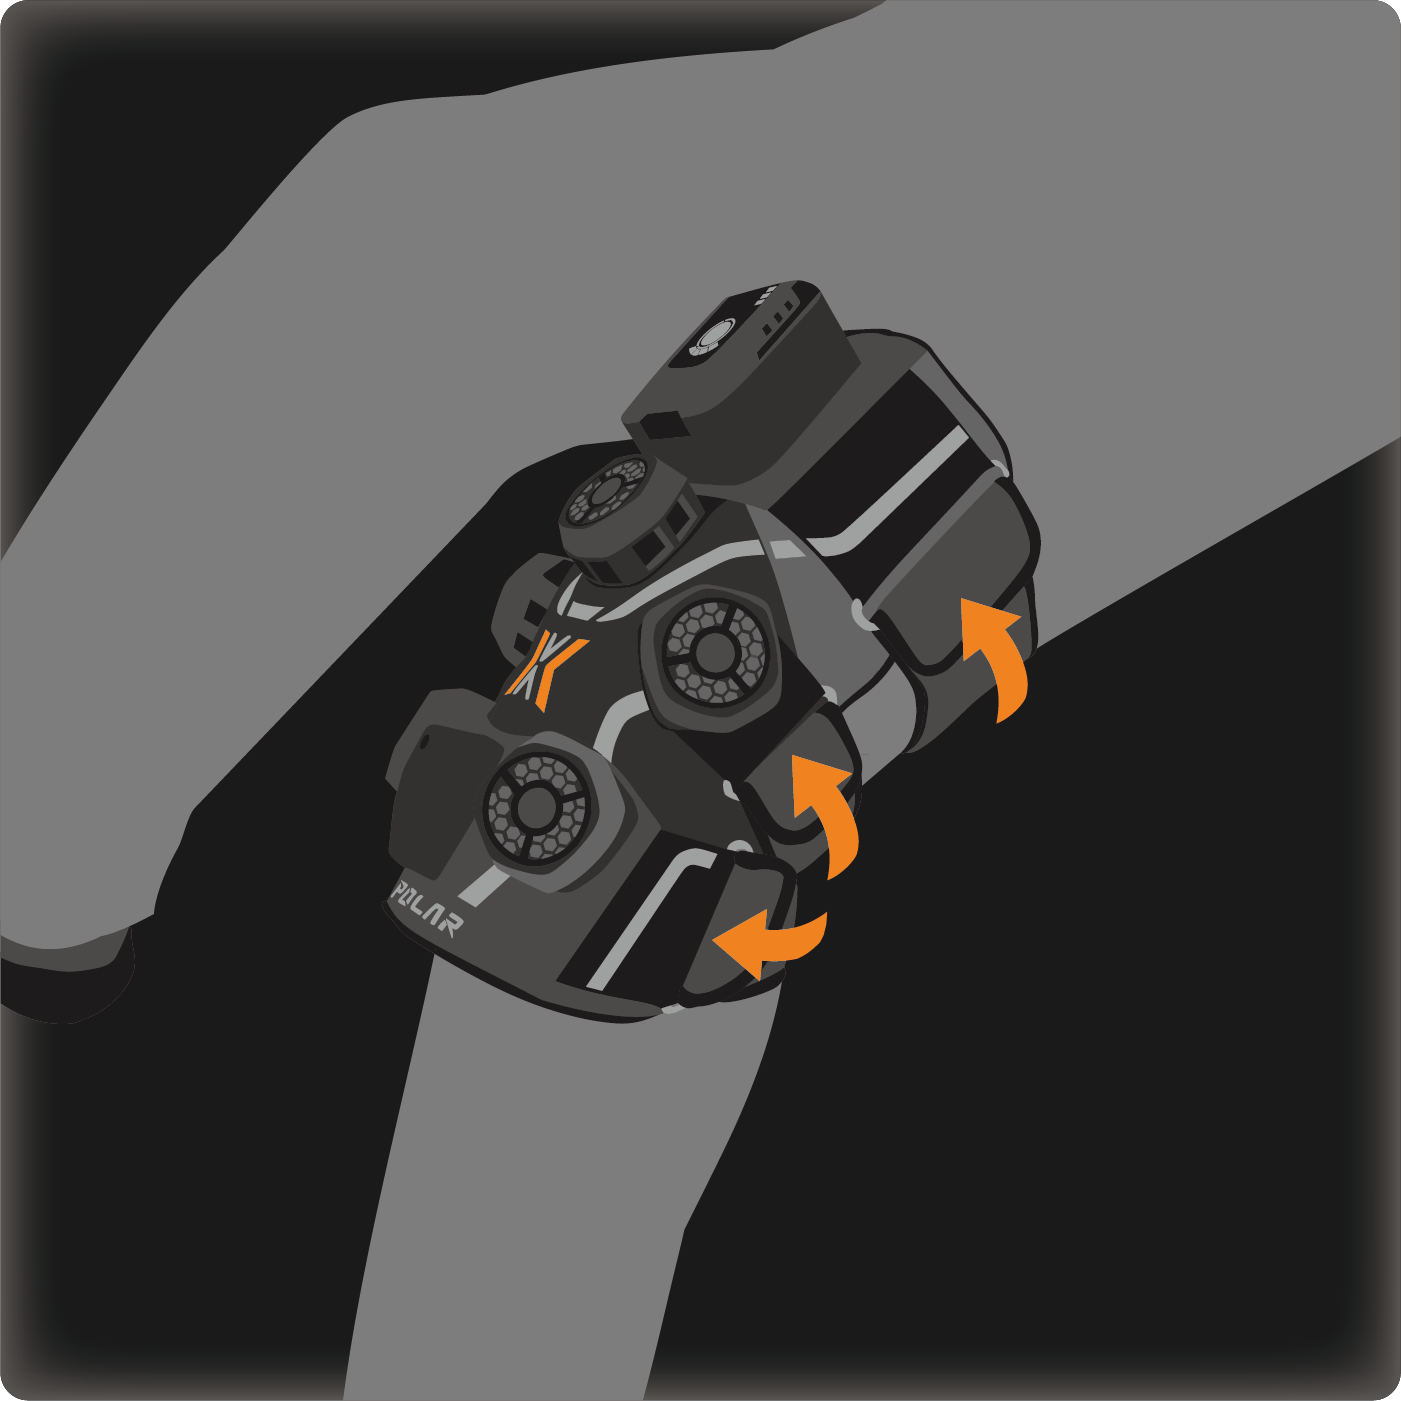
⑤ Pass the remaining straps through the opposite metal ring, flip, and tighten.
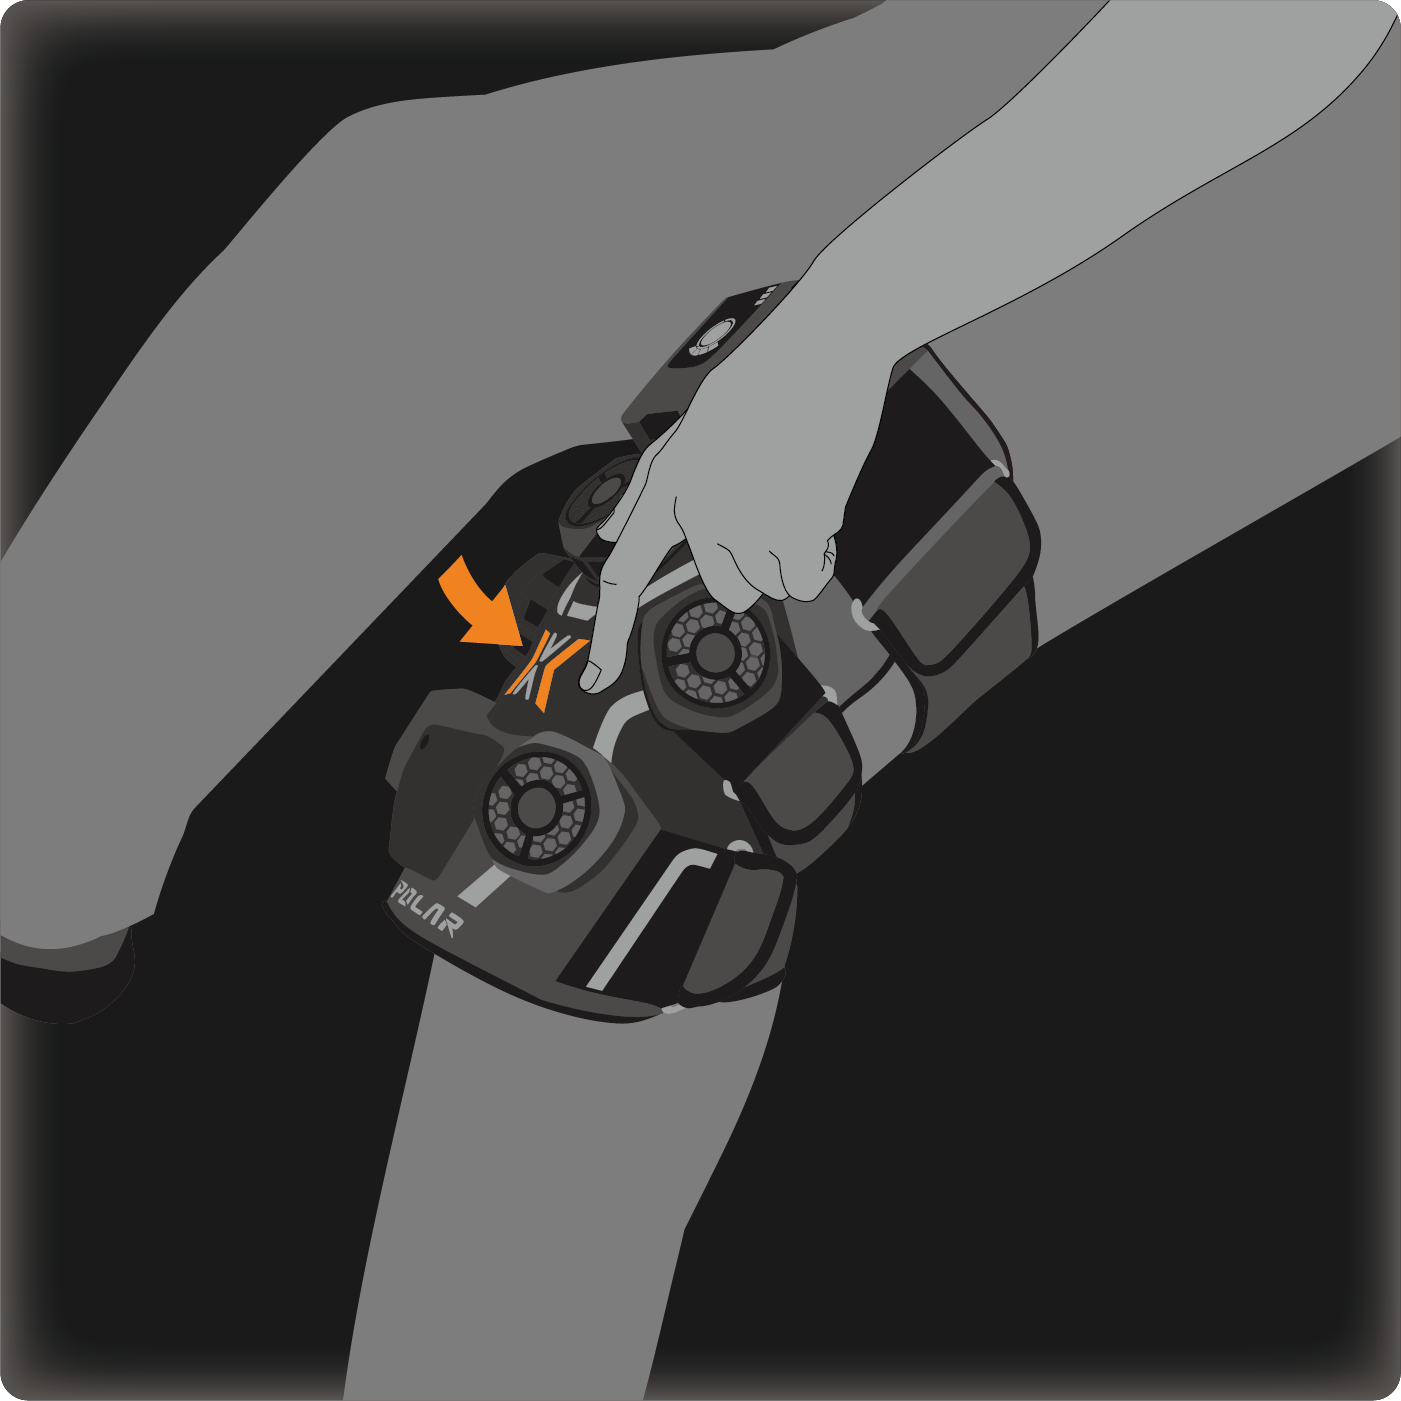
⑥ Ensure the X area is snug to your leg for optimal temperature and pressure.
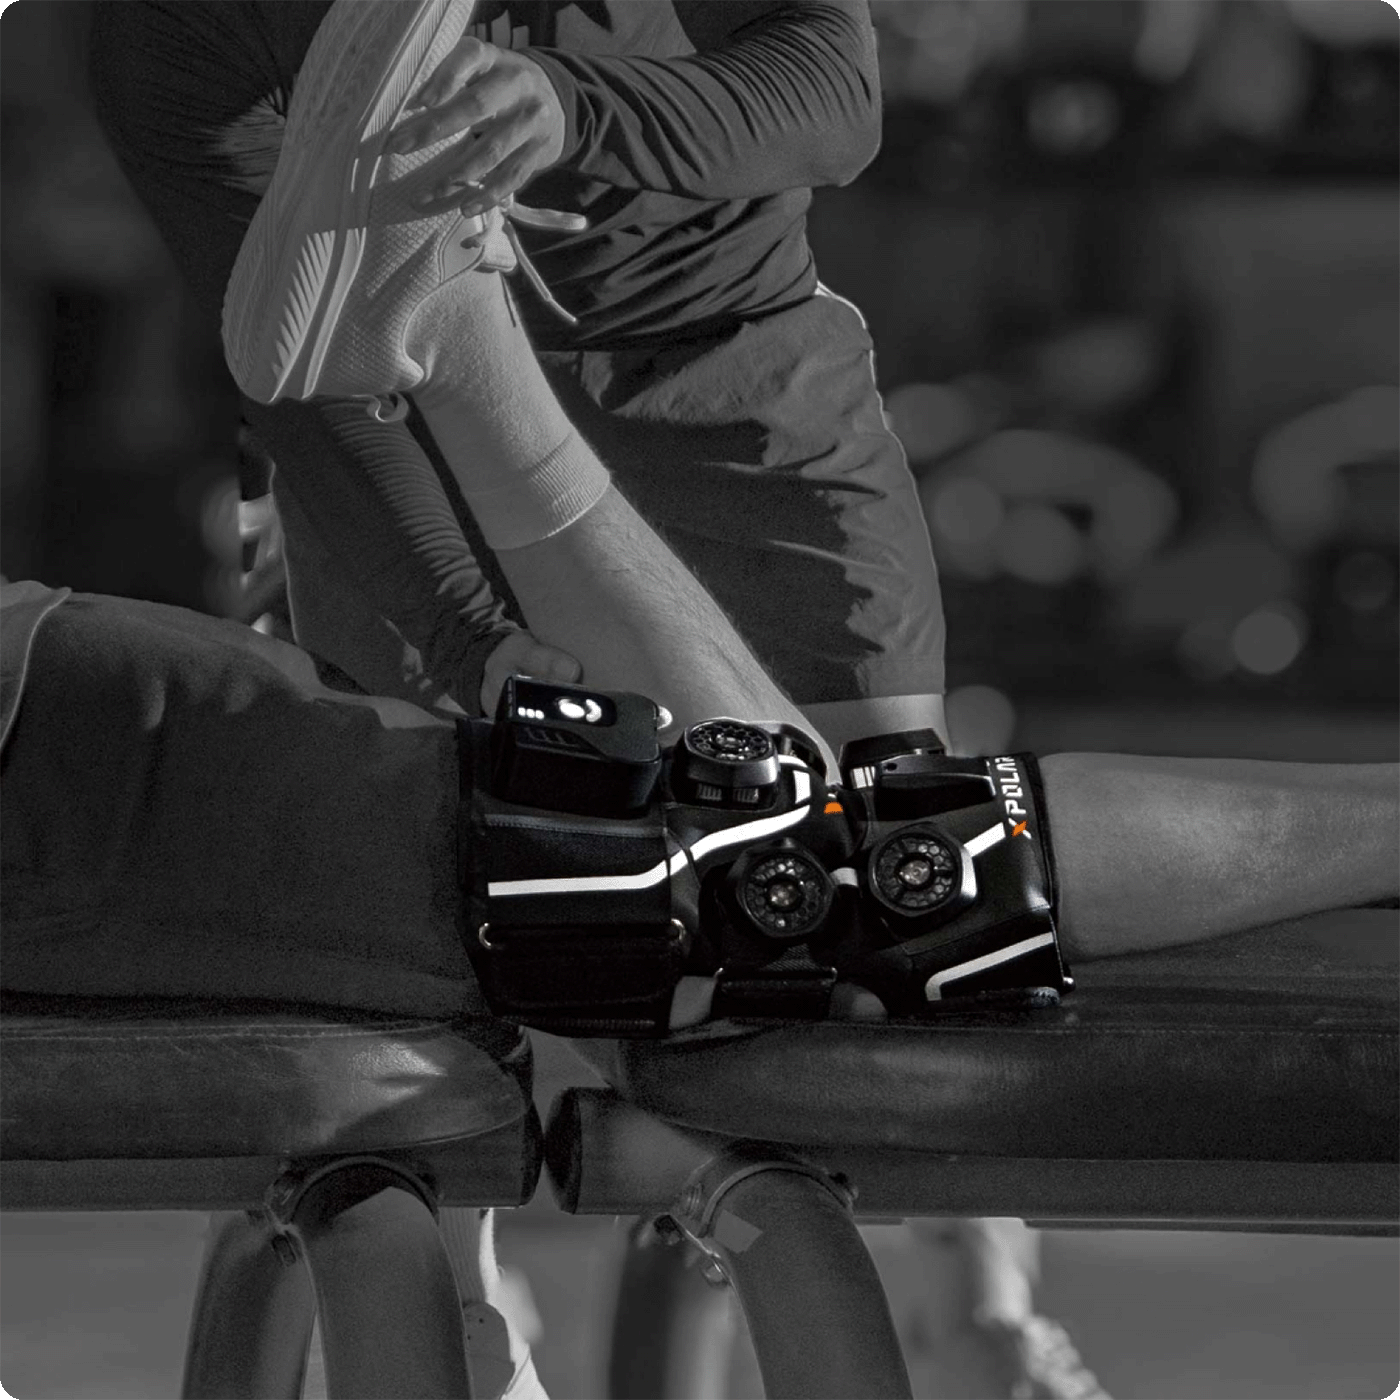
Thigh
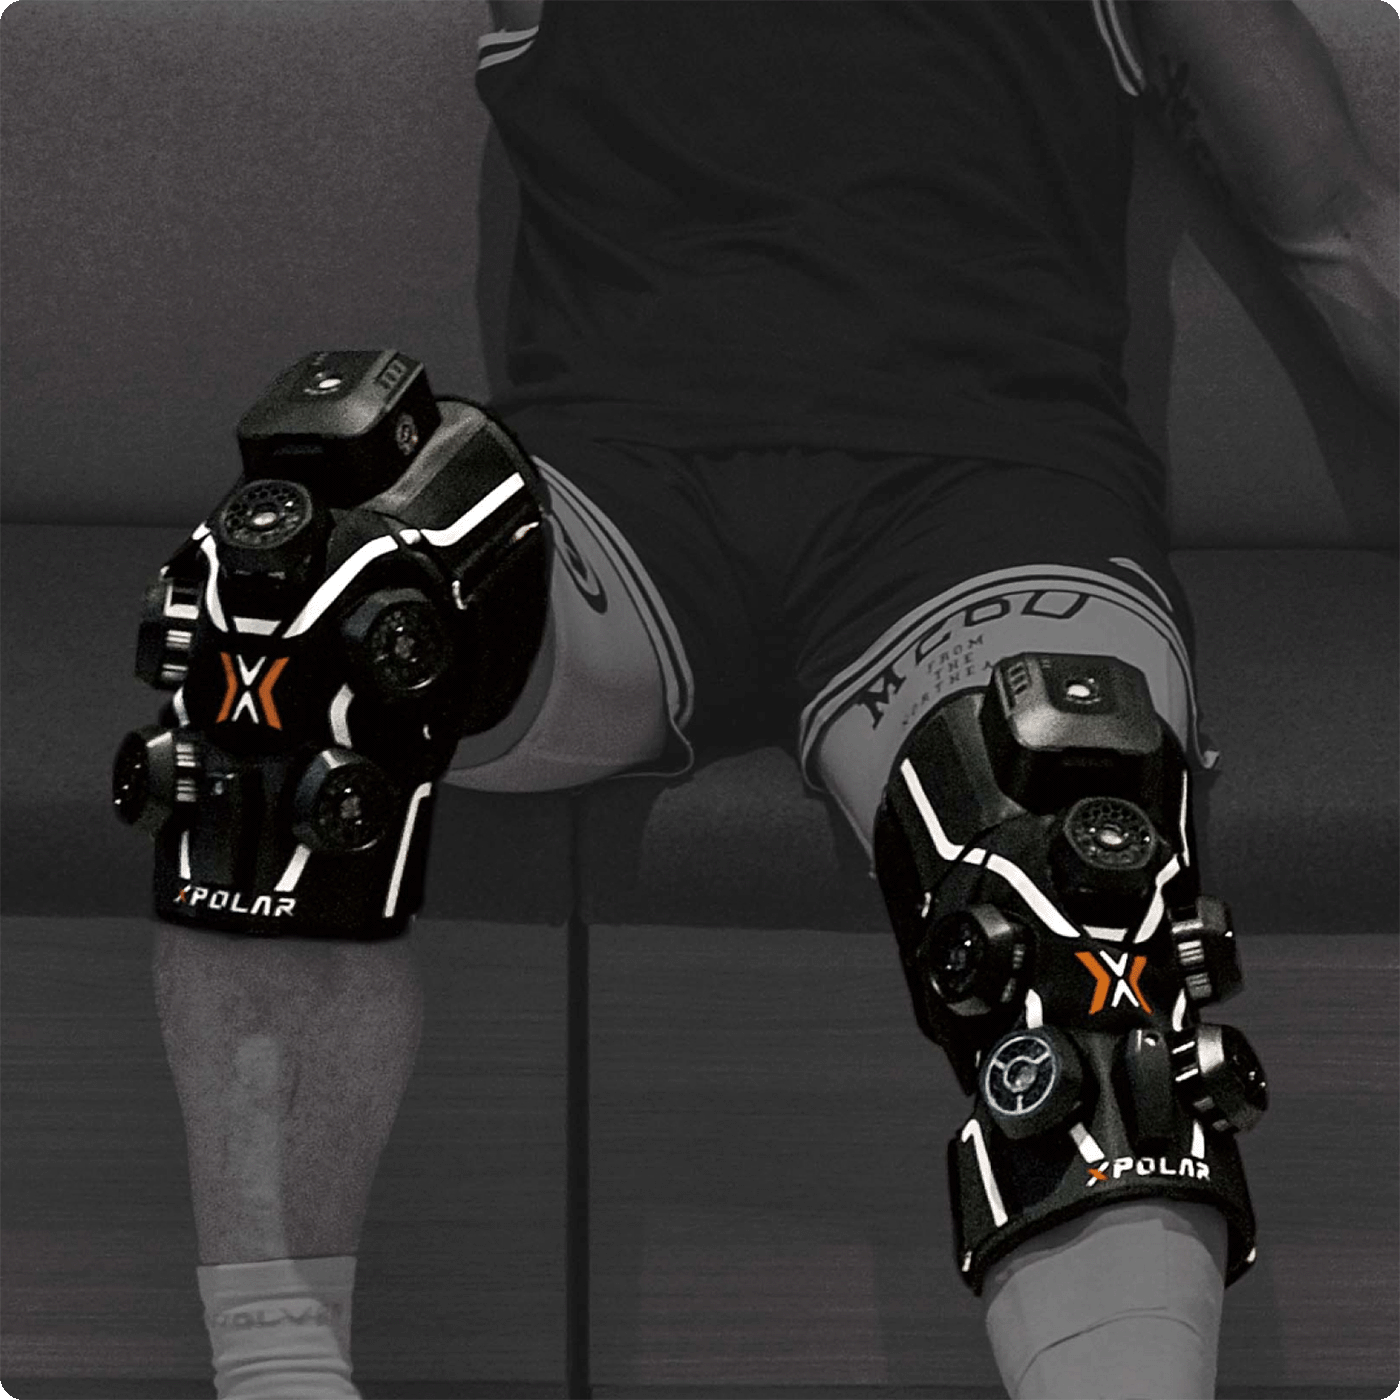
Knee

Calf
Operation Instructions
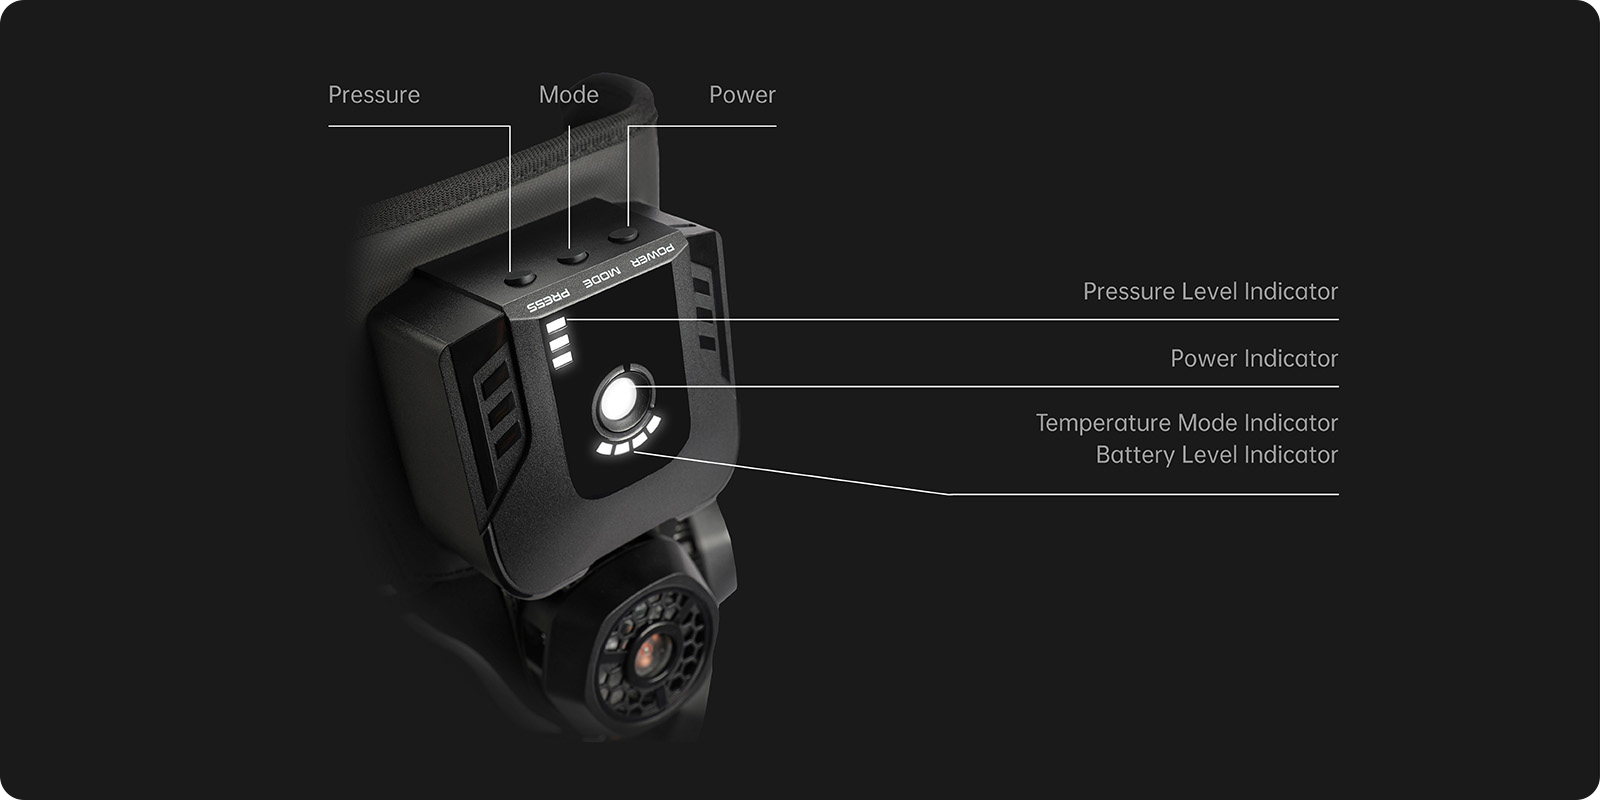
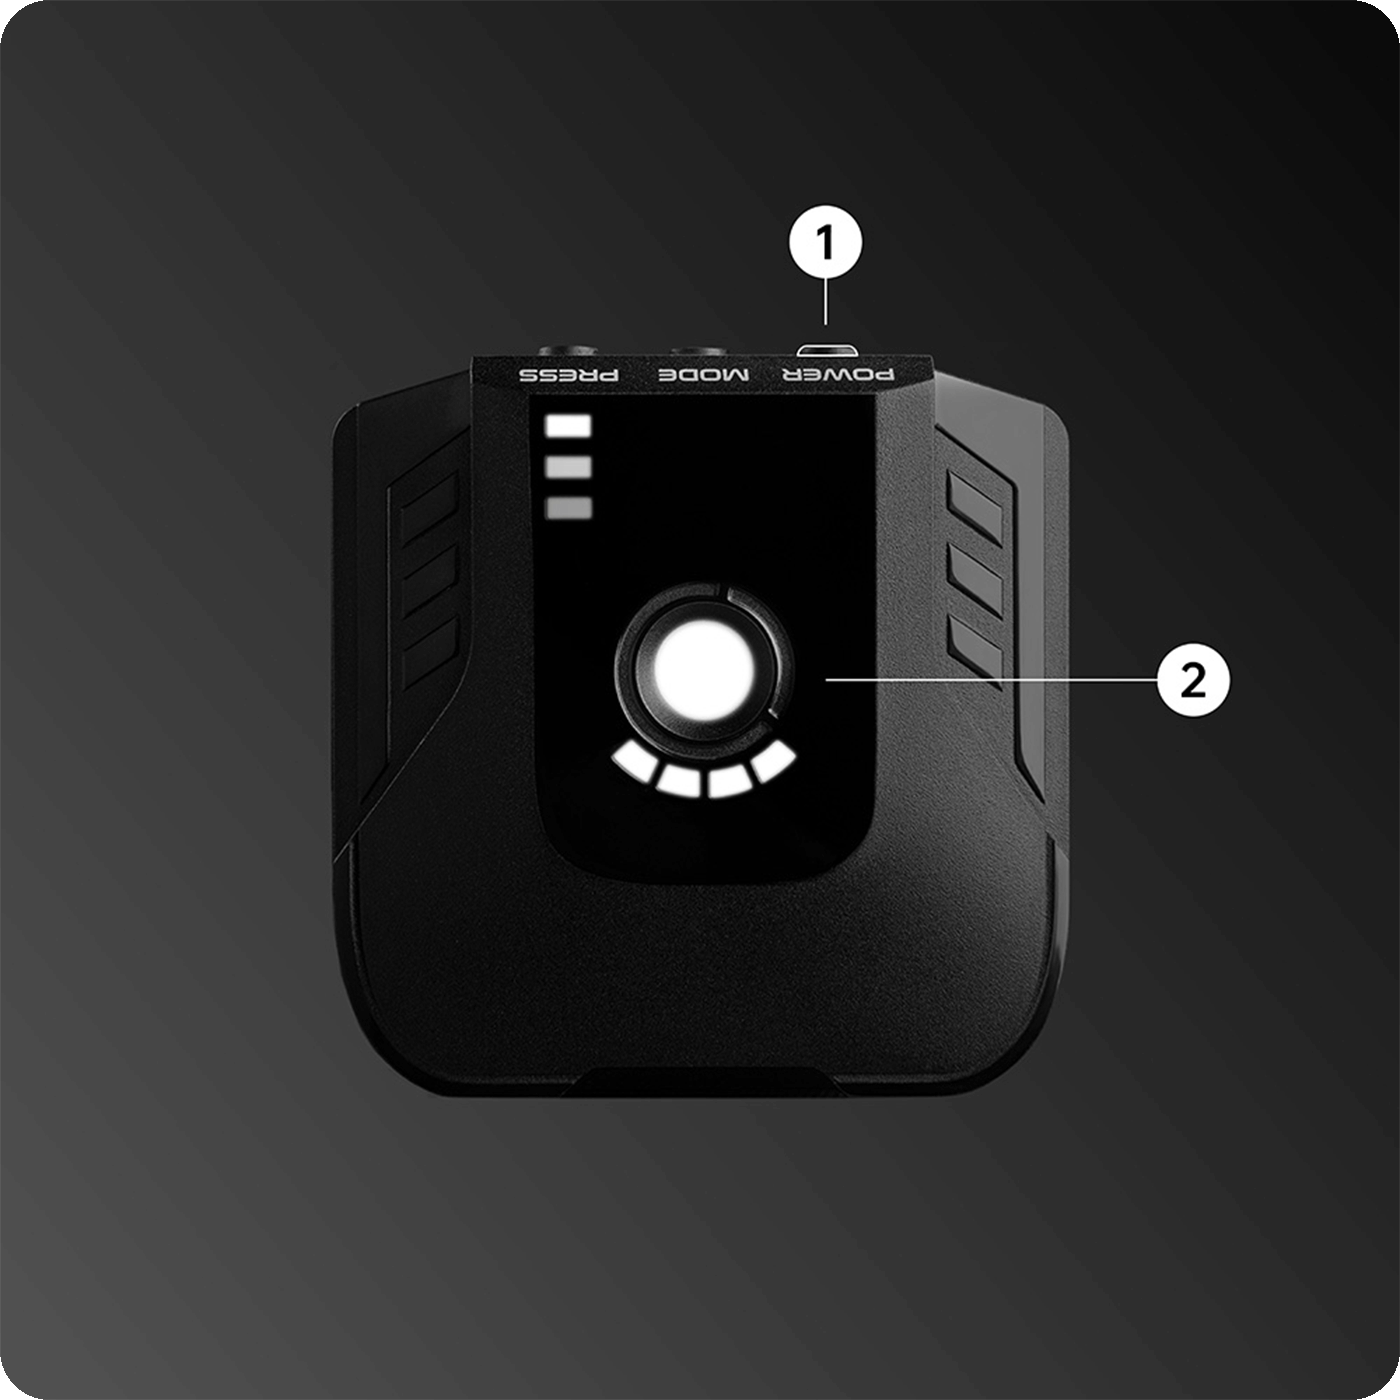
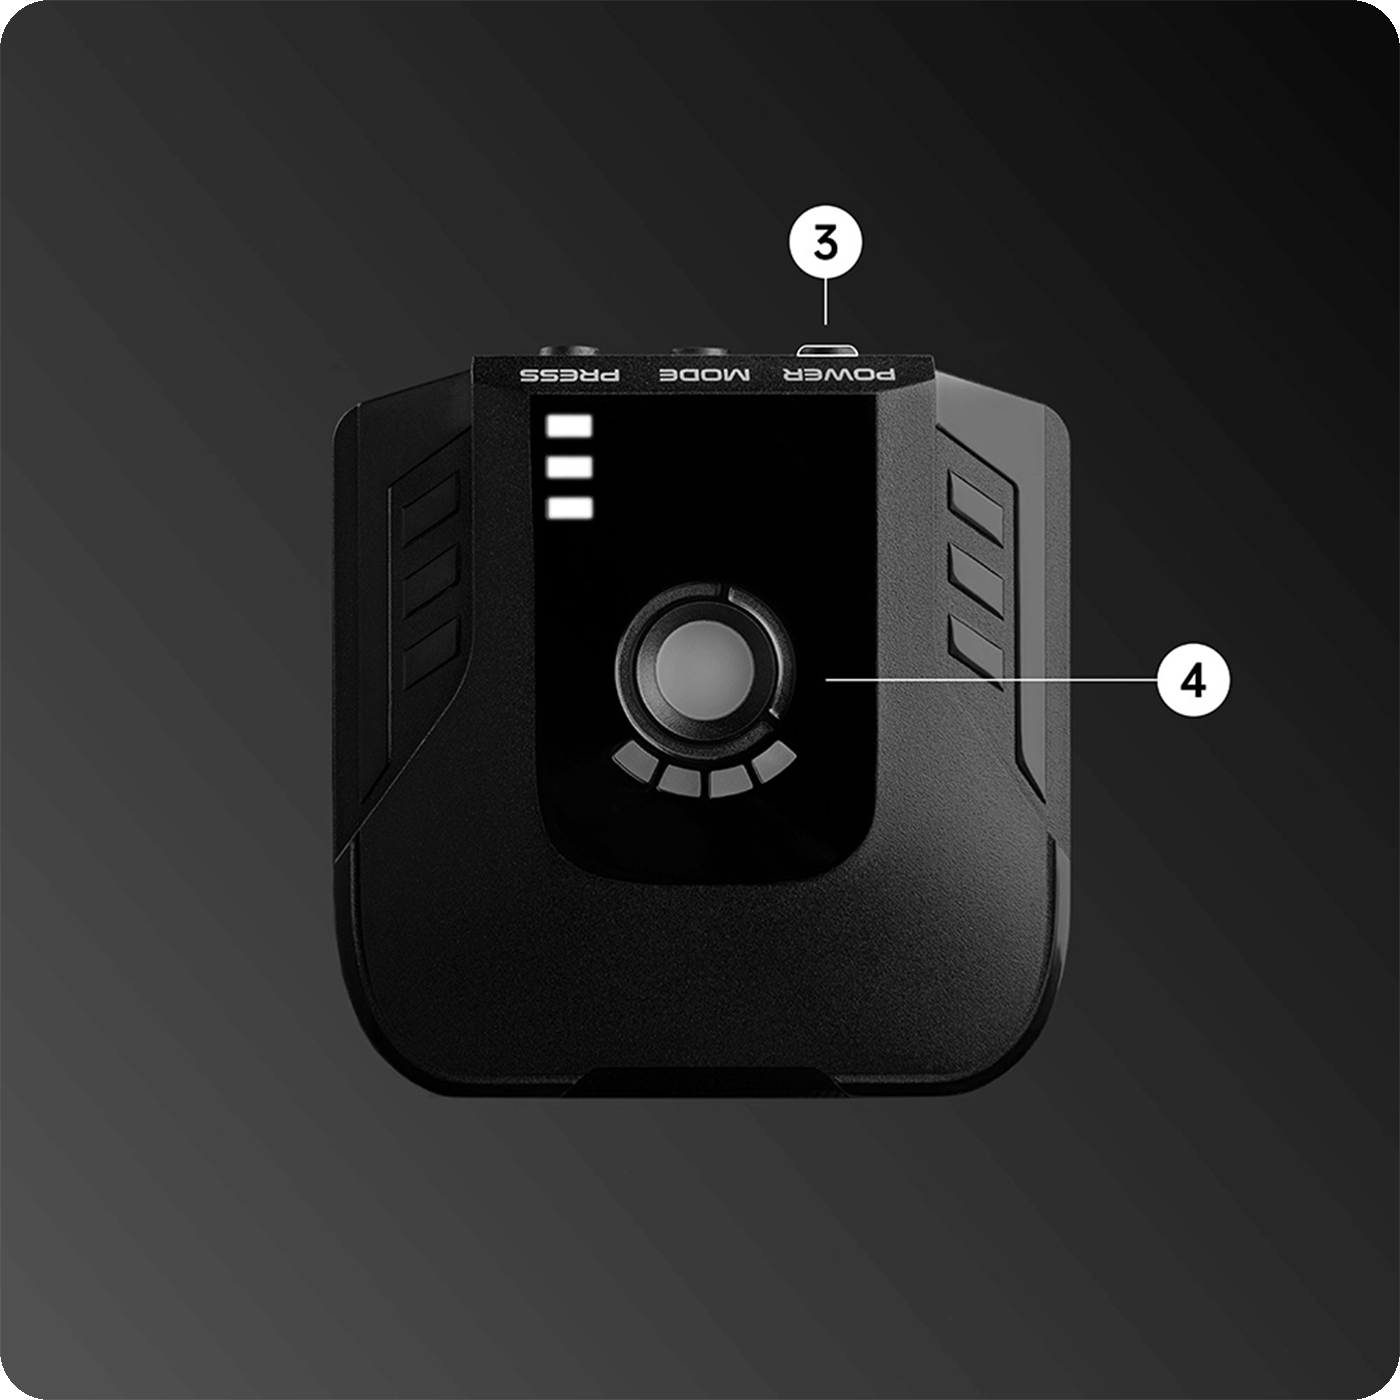
Power On
- Long press the power button for 2 seconds.
- The power light turns white.
- The power light turns white
- The device vibrates with two flashes of the pressure light.
- The device is on.
Power Off
- Long press the power button for 2 seconds
- The power light turns off.
-The device vibrates twice.
-The pressure light blinks twice.
-The device is off.
Power On
- Long press the power button for 2 seconds.
- The power light turns white.
- The power light turns white
- The device vibrates with two flashes of the pressure light.
- The device is on.
Power Off
- Long press the power button for 2 seconds
- The power light turns off.
-The device vibrates twice.
-The pressure light blinks twice.
-The device is off.


Switching Recovery Modes
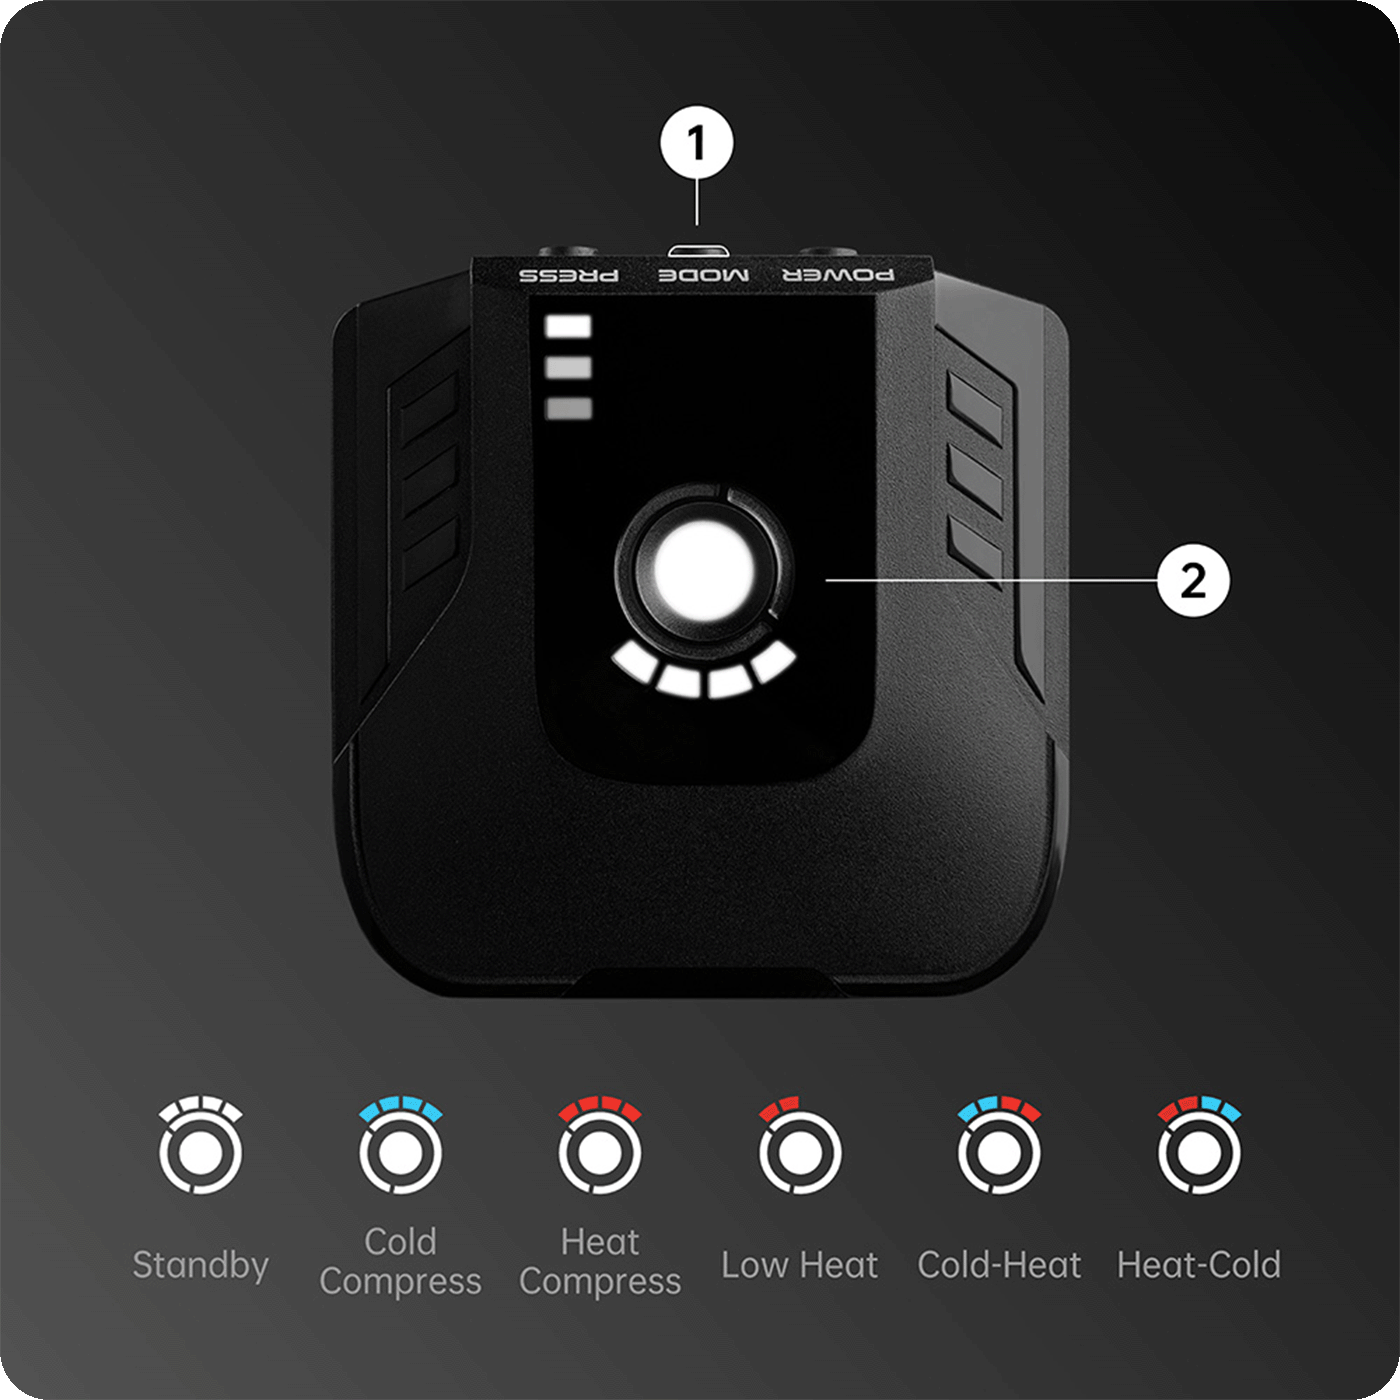
- Long press the power button for 2 seconds.
- The power light turns white.
-The power light turns white
-The device vibrates with two flashes of the pressure light.
-The device is on.
Switching Recovery Modes
- Long press the power button for 2 seconds.
- The power light turns white.
-The power light turns white
-The device vibrates with two flashes of the pressure light.
-The device is on.

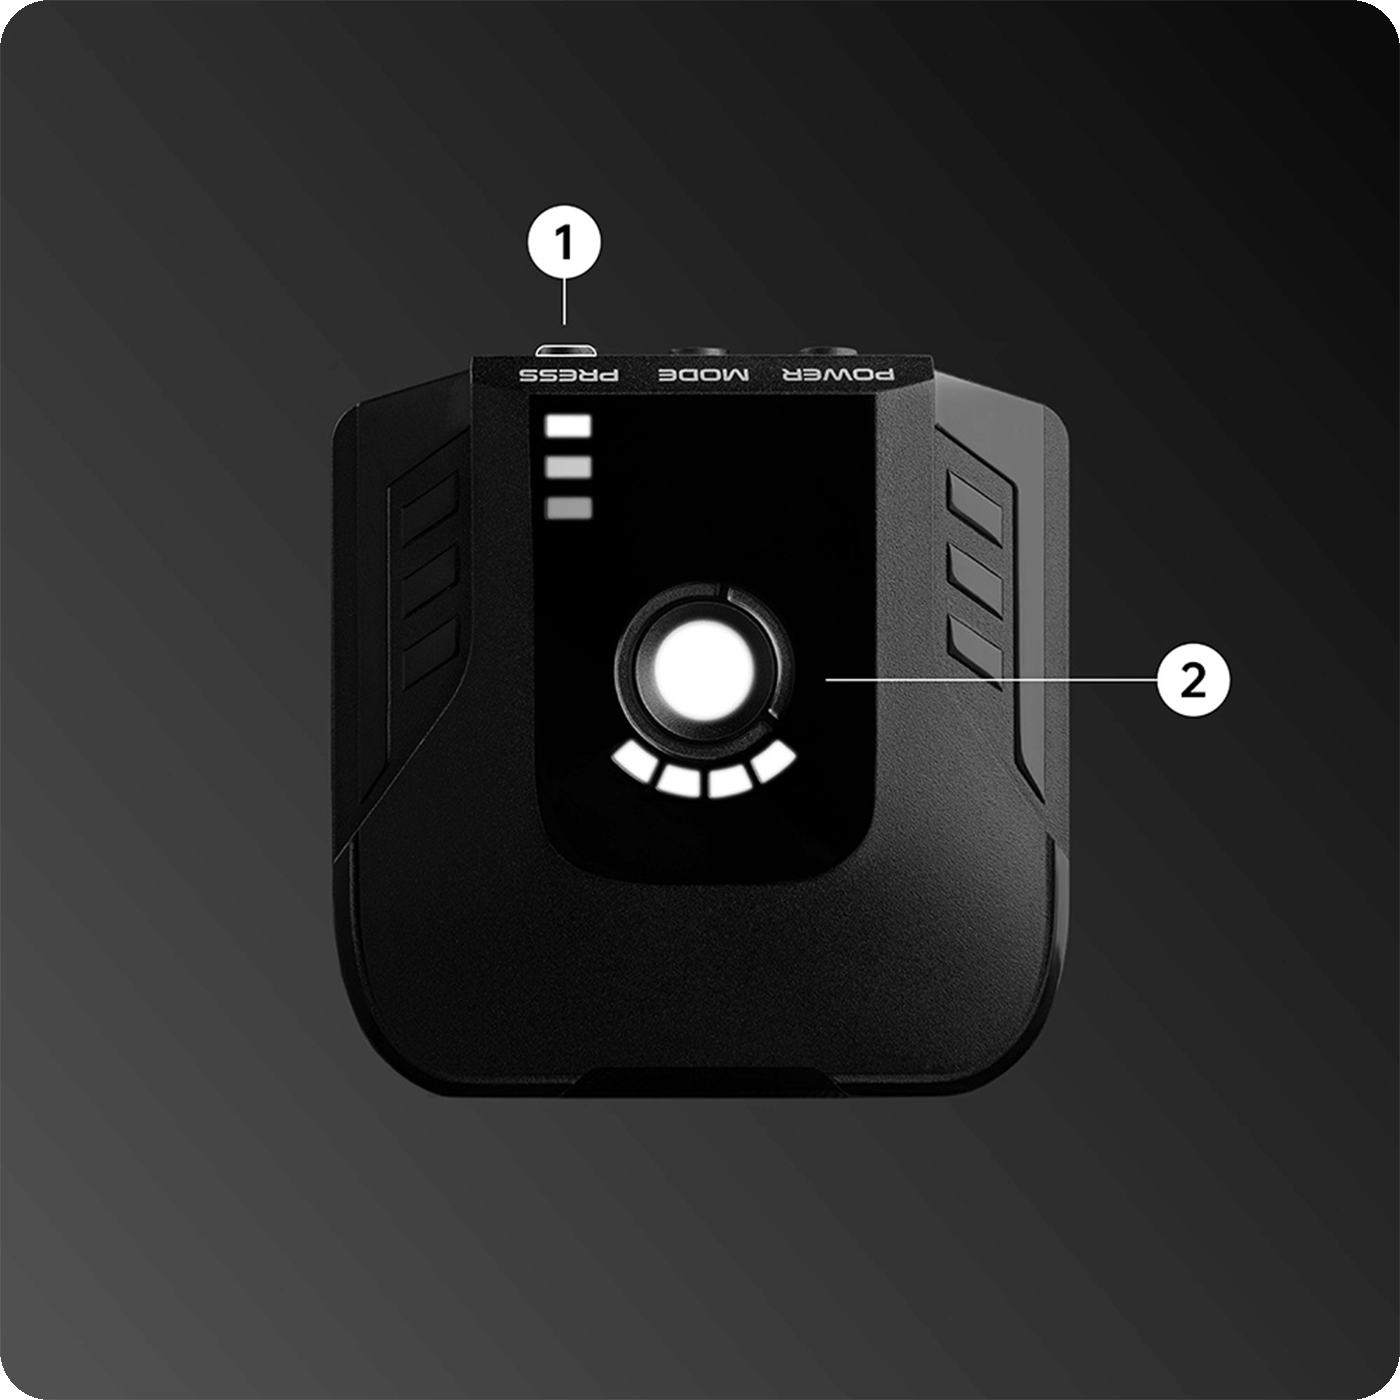
Adjusting Pressure
- Press the pressure button.
- The number of lit segments indicates pressure level.
Adjusting Pressure
- Press the pressure button.
- The number of lit segments indicates pressure level.

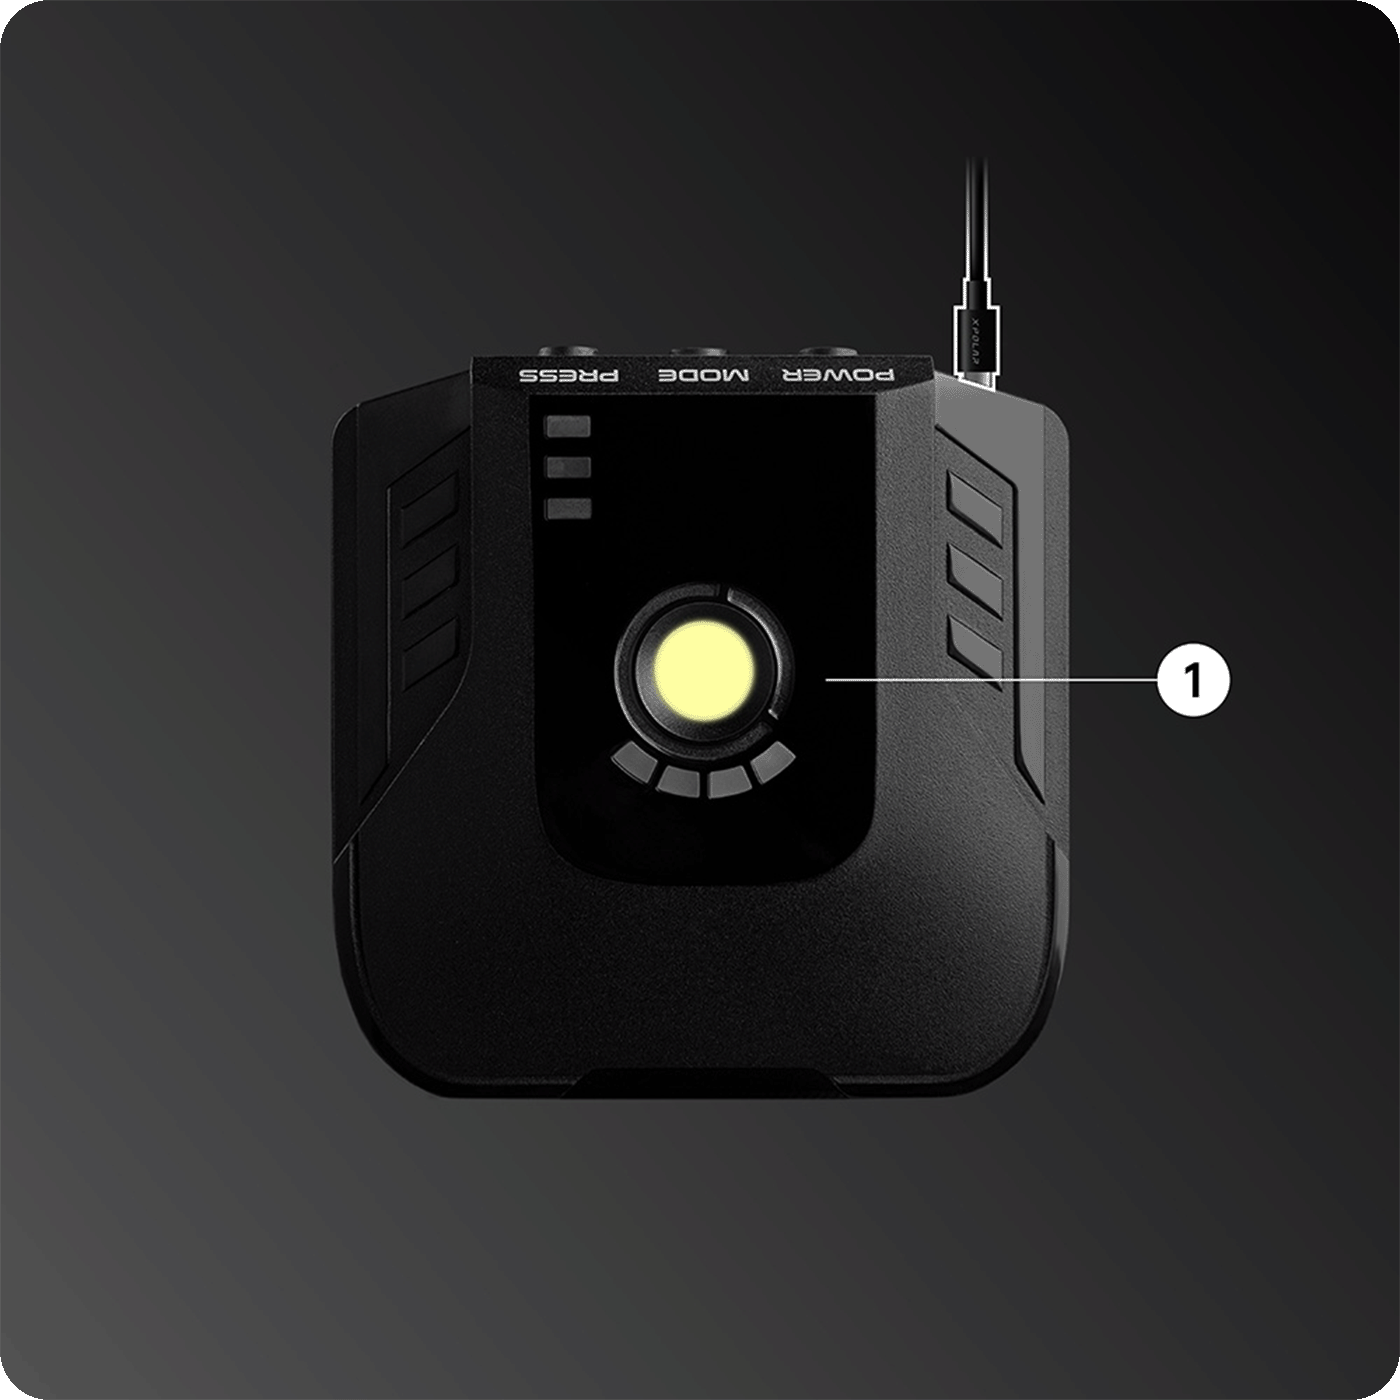
Charging
Insert the charging cable into the charging port, the power indicator light will show yellow to indicatecharging has started.
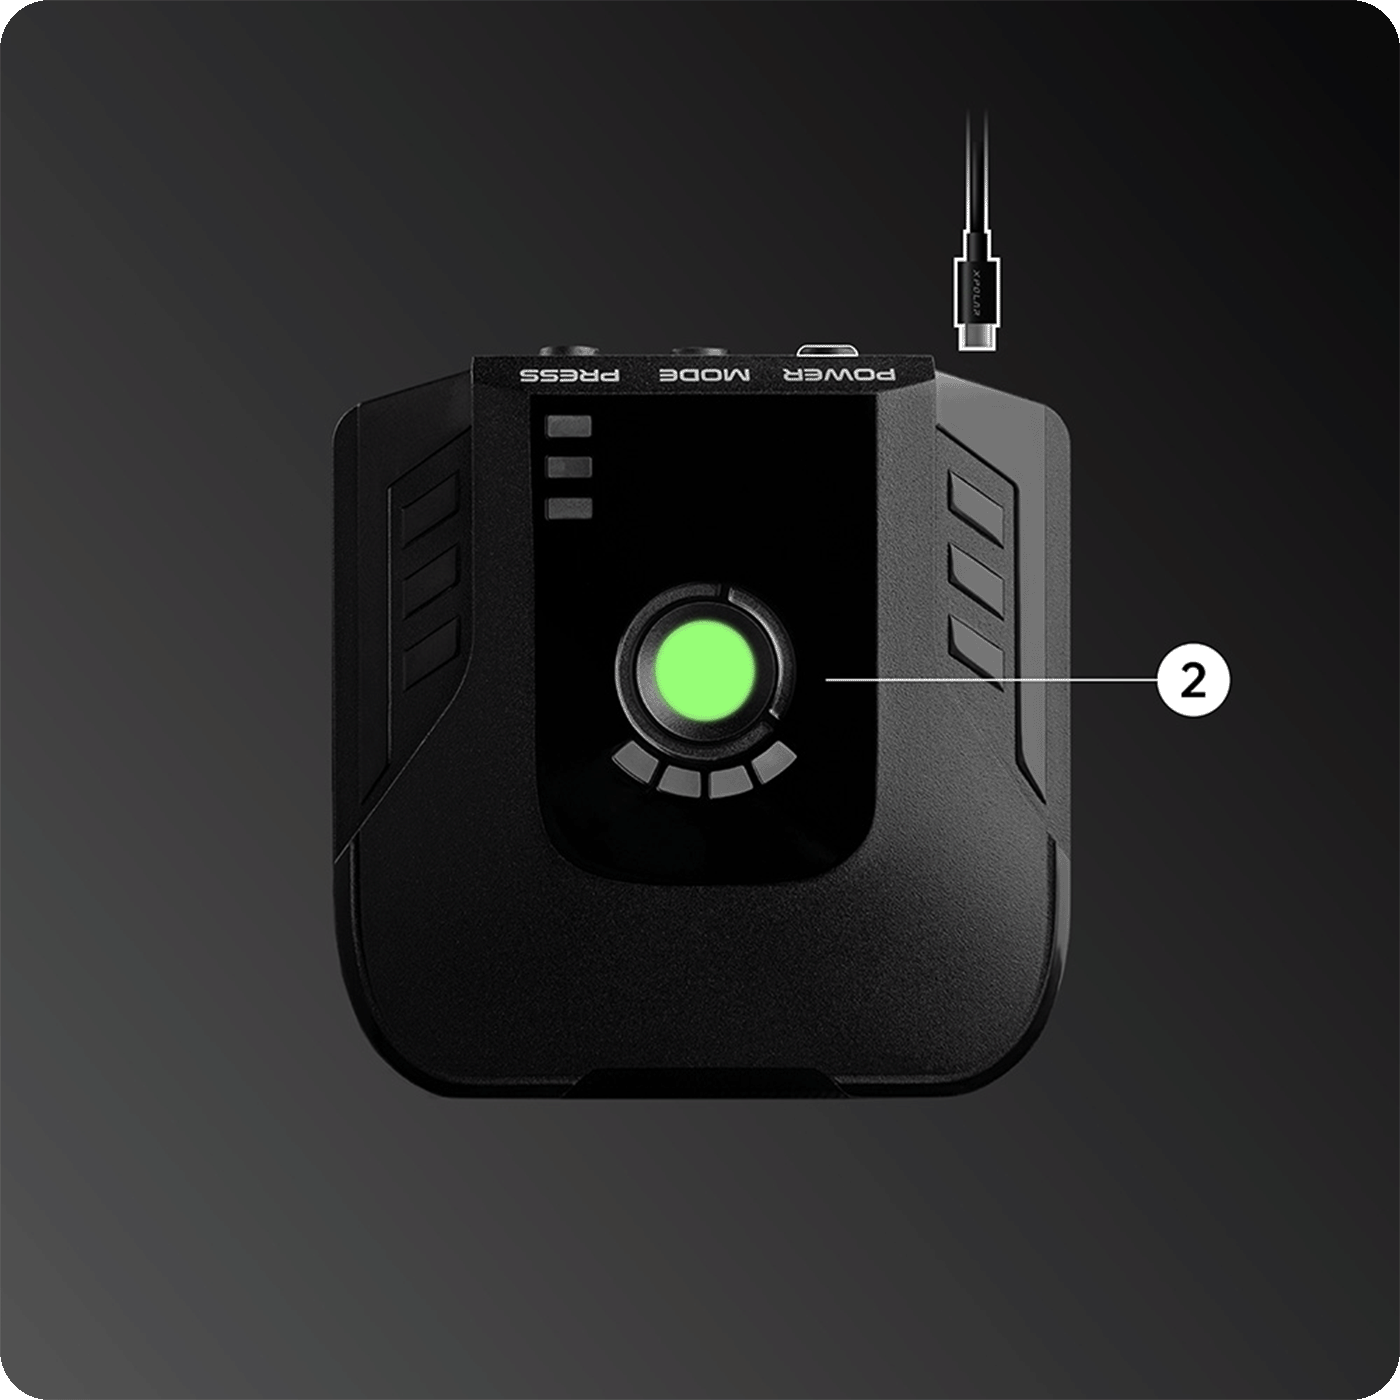
Charged
The power indicator light will turn green and automatically stop when fully charged.
Charging
Insert the charging cable into the charging port, the power indicator light will show yellow to indicatecharging has started.
Charged
The power indicator light will turn green and automatically stop when fully charged.


